Thundaflo Channel Drain Installation with the Suspension Method.

  1. The deep end of the upstream section overlaps into the shallow end of the downstream section to create a waterfall between sections.
  2. Tabs on the downstream section frame support the upstream section. This ensures the top of each frame is aligned with each other. 
  3. The Sections are then joined by Tek Screws to provide a stable junction between sections. Holes are now pre-drilled to assist.
  4. The Sections are supported from above with a screw through the cross brace. An 8mm bolt can be used as an alternative.
  5. 1m 37s later, Job done and onto the next section. Piece of the Proverbial!
  6. This 70.0 L/m section was installed in less than one day, see finished photo below. 


70 L/m 200 Series

The sections are attached to the cross-brace with screws. Note the bottom wood block has a slot cut across it to fit into the vertical section of the cross-brace.

The sections are attached to the cross-brace with screws. Note the bottom wood block has a slot cut across it to fit into the vertical section of the cross-brace.

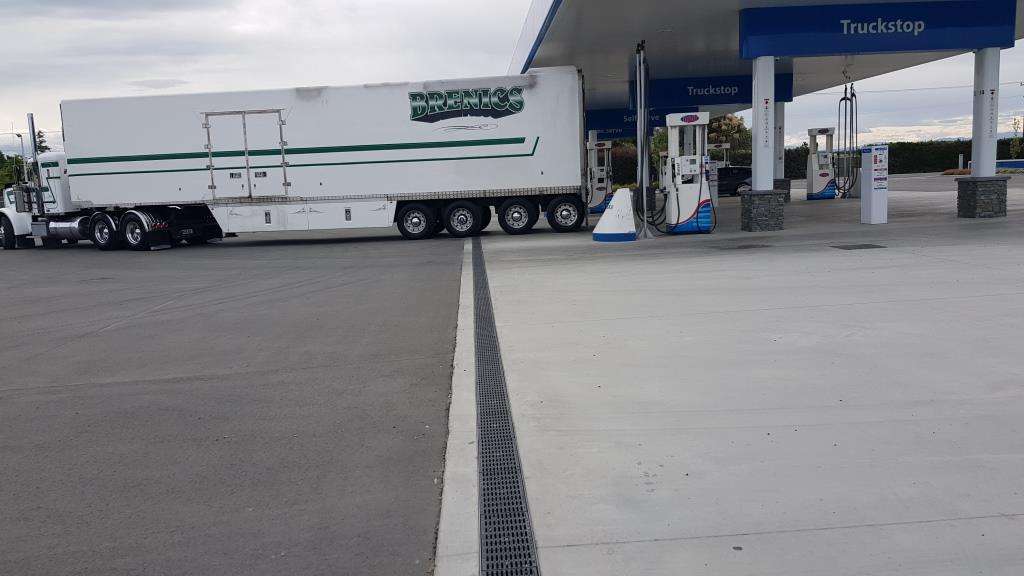
70.0 L/m of 200 Series with E400 (AS3996) Shoe-guard Grating, absolutely Rock Solid! The 70.0 L/m section consisted of two 35.0 L/m sections draining to an inline sump at the centre. Each 35 L/m section has Build-in-Fall starting at 125mm depth ending at 397mm at the in-line sump. The built-in-fall is variable, starting at 1.5%, ending at 0.51%. The steeper sections at the start result in higher velocities where flow rates are relatively low to mitigate silt buildup.

70 L/m 200 Series


Next: Cess Pit End